...and the sky's clear...
I was finally able to play with my Airbrush and do some painting on the SD Kanu also known as Guan Yu Gundam (based on the Gundam Instruction manual).
It was a hot Saturday morning...the sunlight woke me up and I noticed... it was 10am already and the Sun was high! I immediately prepared the SD Kanu Gundam and the Airbrush...and went on the roof to start painting. This post will be Part 3 of the SD Kanu Gundam build. See my previous post here. All set, let's go to the roof!
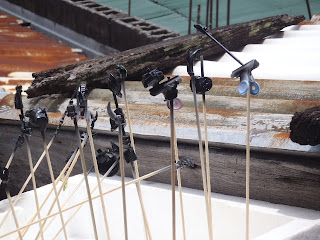
Here I was on the roof...(see that rusty roof? that's our neighbors' area... nice colors...really weathered.. hehe)..
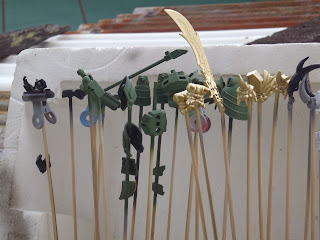
First thing I did was to apply a layer of Gloss Black on the Gundam parts. This will be my base color...and if I'm lucky enough, I'll try the pre-shadowing technique I learned.
I also learned something from Tamiya paints. The Tamiya Acrylic thinner was not a real acrylic thinner! (for me based on experience) as it does not "thin" tamiya acrylic paints.
I tried using Tamiya Lacquer thinner for Tamiya Acrylic paints instead and it worked.
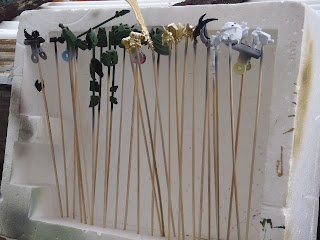
After a couple of minutes the black paint was already dry. I applied the true base colors of Gold, Green and White and to my luck, I saw some "pre-shadowing" effects on the white pieces.
One hour later, the paints were dry and I'm impressed with the results. (time for lunch!)
I went to my worktable to prepare the things I'll need for detailing.
Tools I used:
- Enamel Red
- Enamel White
- Enamel Glod
- Enamel Thinner
- Brush
- medicine dropper
- cleaning cloth
- a small ceramic dish? (used in dips like ketchup, soy sauce..etc)
The only thing that wasn't painted was the Red feet...I ran out of black paint!
Everything you will see from this point was hand-painted.
As soon as the enamel details dried up, I prepared them for a layer of Gloss Coat.
I got a Tamiya Clear - a left over from my previous builds. I will be switching to a cheaper alternative (Pledge floor shine) as soon as the spray cans were finished.
Waiting for the Gloss coat to dry...
So that's it for today's update.
For Part IV I will be doing some panel wash and probably a Flat coat.
Thank you for visiting. Comments are very much appreciated.


.jpg)

.jpg)


1 comments:
I'm inspired by your work here since I'm an avid fan of Sangokuden sd kits.
I've sent you a mail and I hope you can give me some tips. :D
Post a Comment