The build continues...
Part 4 of the first SD - Sangokuden Gundam - Kanu gundam.
Last post I shared my updates on painting. Now that the paint has finally settled, I started to do some panel lining.
I used a technique called panel wash using the materials:
- enamel thinner
- enamel paint (brown and black)
Here are the rest of the tools needed:
- medicine dropper
- brush
- lalagyan ng sawsawan
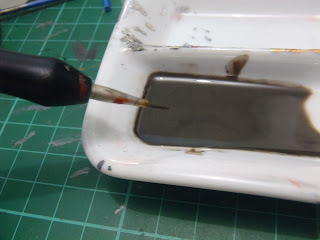
I took a small amount of Brown paint...
...added a little drop of Black...
...and approximately 10 drops of enamel thinner...
...mixed with a stirrer (made from spare runner)
To start my "How to do panel wash" tutorial, I've selected two armor pieces from Kanu Gundam's shoes.
These pieces were sprayed with Acrylic Gold paint and I don't have to worry about the Enamel wash damaging the golden finish.
Dip the pointed brush into the paint solution just like the way you dip your favorite fries into some Heinz Ketchup.
...then apply the paint onto the armor piece. Watch how the solution will freely flow into the grooves.
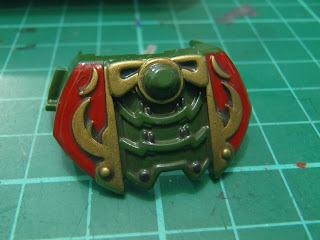
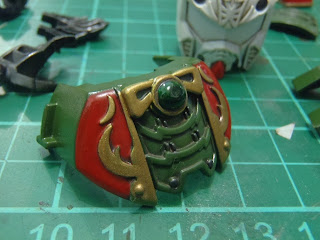
Notice the difference after applying Panel wash/lines. The armor piece on the left has more depth and detail and it looks more metallic and heavy than the one on the right.
....apply the same wash to the other piece...
You will also notice that the lines maybe too thick. Let's deal with thick lines later....for now, let's apply panel wash on all pieces...
And were done!
Next step, cleaning!
To clean the excess paint made by panel wash, we'll be using the same materials:
- enamel thinner
- cotton buds
Pour some drops of thinner on to the dish, and gently dip the cotton buds just enough to make it moist. Not too wet and not too dry.
The panel wash must be dry by now.
Gently "rub" the cotton bud on sections you wish to clean. Gentle enough so you won't damage the panel lines.
Left side: panel washed without cleaning
Right Side: panel washed and cleaned.
Clean all the parts...
Final phase: Assembly.
After cleaning (and making sure that the parts were dry), it's time to assemble the Kanu Gundam in preparation for top coating.
These stickers were pretty much useless now except for the eyes.
Cool!
And the final assembly. However, the Kanu Gundam wasn't finished yet. The golden horns were missing!!!
Next post: All about top coats!
Thank you for viewing!


.jpg)
.jpg)


1 comments:
very nice tutorial, now i can start collecting SD gundam from the BBW animation, thanks :)
- Arradyan - Indonesia -
Post a Comment