It ain't Chinese...
For today's project, I'm going to snap-fit an
SD Gundam. This is actually my first time in assembling an SD Gundam from the
Sangokuden series. Scaled like a regular SD but packed with design and details and the overall look is different from ordinary SDs. I think the characters were designed based from the classic Chinese literature -
Romance of the Three Kingdoms. Let's begin!
Box Art
I don't even know the name of this kit. Hobby Search says it's name is "Kanu Gundam".
...unboxing
Contents
Contents again...
Here's the manual.
At back side of the manual you'll find a little "comic strip"...translated in English... nice
Stickers!!! I hate to use this stuff.. I might use only the eyes.,the rest will be represented by paint.
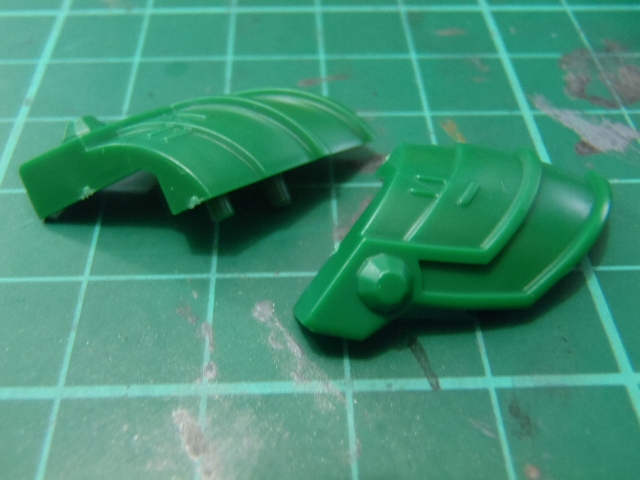
Let's have a closer look at the pieces..
This is the B runner comprising all the extra armors for our little friend.
It has cool details and it reminded me of the Japanese Samurai armor... I'm going to paint this piece.
Some more golden details for the armor.,
Personally I don't like the texture because it looked more plastic-like. I'm going to paint this too!
No V-fins for this kit.,instead, they provided a design that looked like a ....tiara? A crown perhaps..
Weapon!
Manipulator
We begin by assembling the head.
I noticed all the pieces were closely attached to the runners...not much allowance for a clean cut.
A little technique I'd like to share about snap-fitting. If you're planning to disassemble armor pieces (after assembly), you'll need to trim the male pins first.
As you can see in this image, it has 4 male pins...
..that you'll "slide" into female sockets like these.
We'll cut/trim the male pins at approximately 45 degrees...
...just like this.
The purpose of trimming the male pins is for easy dis-assembly while avoiding breakage.
Here's the completed head... (was that a beard?)
Next, we'll assemble the arms.
Take this piece with the round polycap...
Manipulator..a left hand..
and the left shoulder armor...
...put together and you'll get this...
Do the same for the right arm...
Next is the torso...two huge armor pieces.,
and 3 polycaps., one for the neck, and two for shoulder joints...
...that you'll slide on both sides just like this...
Upper body parts... so far so good..
Next, the legs.
I noticed a design on the underside of the shoes., I mean foot.., (and I don't understand what it says)..
(.,was that a bulldog head?)
We'll snap this golden piece on top of the shoes...
...like these.
Next piece is for the legs.,
I noticed that some of the pieces in SD kits has hollow sections...
I'll be putting some fillers here..maybe a putty and some plastic plates.,
A completed Left leg...
Two Legs!
Skirt armor pieces.. look at those markings.,. the good thing is - there are no mold lines across the design.
Completed skirt armor.
Assemble the pieces together and this is how our bald-naked-Gundam would look like.
"Where's my armor?"
Time to check the Green armor pieces..
Just like a Samurai armor,.we'll use this on both shoulders.
Breastplate.
Gauntlets.
A Skirt armor?
Bam!
Now our Gundam was dressed with his Samurai armor...still bald though.
Head armor!
Pretty much like a real Samurai headgear (...I heard reindeer)
"Hey, That's my hat!"
"Where's my weapon?"
Here's your weapon... a spear..or maybe a Halberd.
"My eyes.. my eyes!"
I noticed that the back looked empty.. and I think I'm going to give it a Samurai backpack (full of Shurikens) :-)
That's it for today's build.
Total time spent: 30 minutes.
Next steps:
- cleaning
- primer
- spray paint and details
Stay tuned for more updates. Thank you for viewing.


.jpg)


.jpg)
0 comments:
Post a Comment