The
SD Gundam was ready for painting but the weather doesn't allow me to...
So inorder to kill time, I decided to build a Master Grade model kit. It's been a while since I touched an MG and I don't know which one to choose.
I was watching
Mobile Suit Gundam 0083 Stardust memory and I saw one MG that looked familiar (found under my worktable). It's the
RX-78 GP01FB!
Let the snap-fitting begin!
Warning: Tons of pictures.
The Box art
Contents... I found 3 runners of polycaps.
....foil stickers and some decals...
The
MG RX-78 GP01FB was originally released sometime in December 1997. That should explain why the manual looked different from the present MGs.
Check this out. The plastic was not as good as today's MGs. The overall finish was rough and some runners were full of mold marks.
I strictly followed the manual so we'll begin building the head.
This is the V-fin. Bandai actually provided a spare V-Fin but I will save it for the RX-78-2.
...Eyes
Face...
...added a polycap...
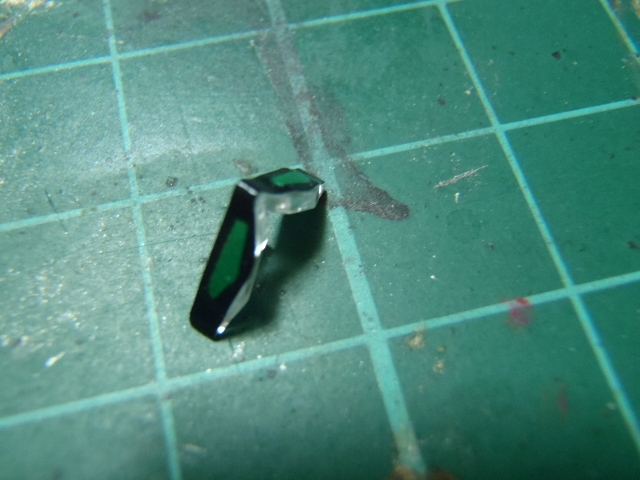
camera...hand-painted with Enamel Clear Green...
The completed head.
Next, we build the Shoulder armor.
And I have no idea what this is...
..small verniers?
..build two of these...
Some more shoulder pieces and a vernier underneath...
partially completed shoulder... a little sliding gimik to show the 3 verniers that looked like....
...this!
Cool!
More shoulder armor pieces..
And that's it! A completed Shoulder armor.
Manipulators.
At least Bandai provided a good manipulator (unlike the hands in Wing Gundam kits).
Right hand...
Two hands...done!
Arms.
Two Arms done!
GP01 has a simple frame.
This is what I like about GP01., the structure of the legs were very cool.
Done! Two of the leg skeletons. I'd love to paint these with some metallic paints.
More leg armor pieces...
One leg done.. repeat the process and you'll get....
Two legs!
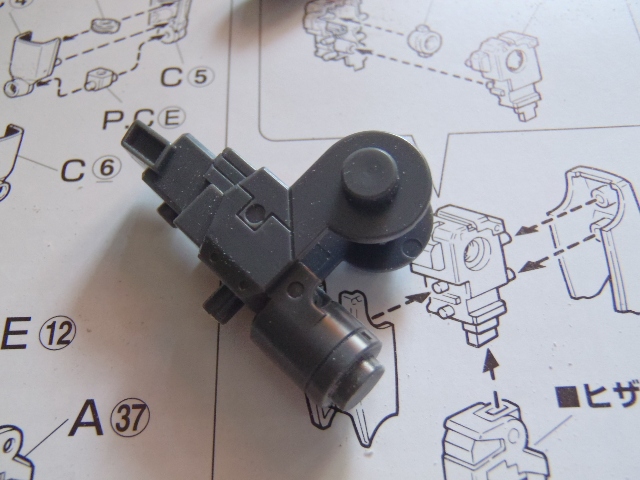
Onto the feet.
Almost done...
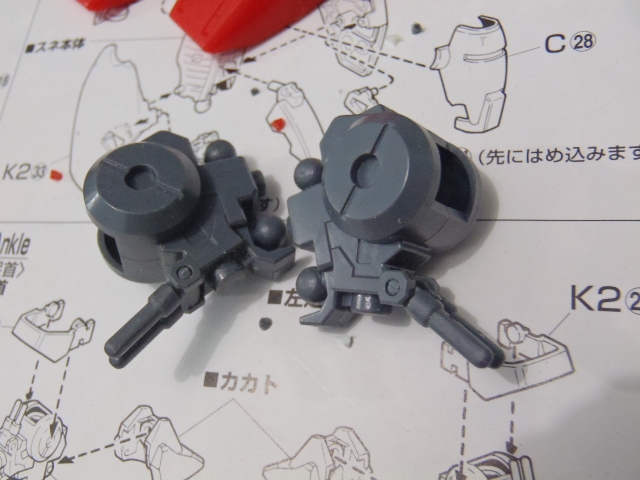
Two ankle frames., Notice the cylinders.
Vernier to be attached below the foot..
Add an ankle armor...
And a finished foot..
Done!
This is my first time in building a Master Grade kit with the Body to be constructed last.
Open hatch...
Closed hatch..
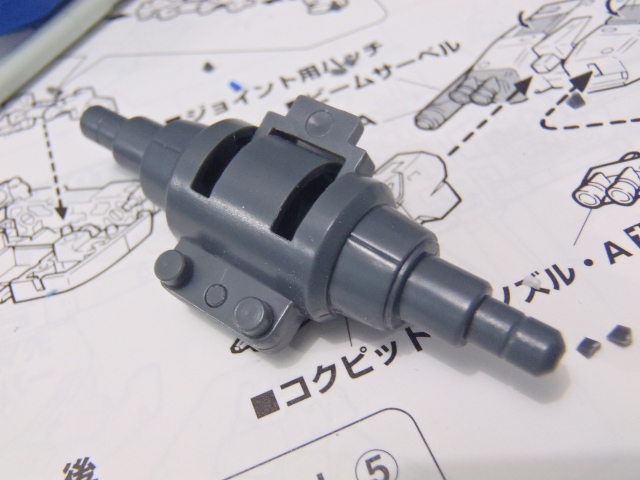
Neck joint...
Done!
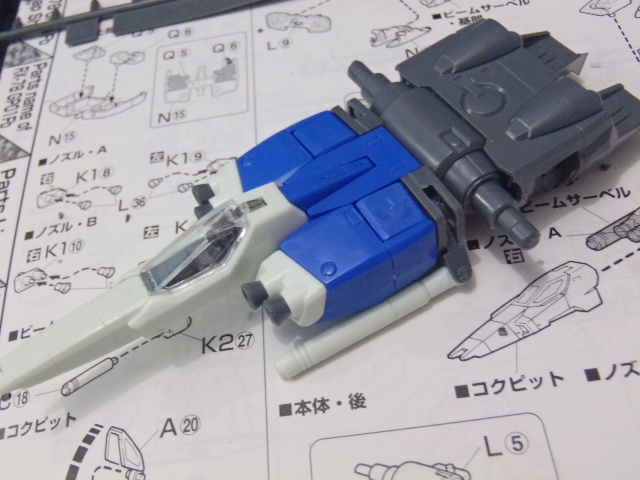
Next, we'll build the Core Fighter.
Two types of front verniers..
Beam Saber
That's Kou Uraki!
Core body...done...
Adding the verniers...
Sealed...
Core Fighter ..partially done.
Skirt Armor!!!
Bike Pedals...
The hips...
Done!
Side skirt armors...
Test fitting the lower body...
Adding the hip portion...
Transform the Core fighter into Core Block mode.... before sliding into GP01's body...
Just like that..
Completed!
Full Burners will follow. :-)
Thank you for viewing..


.jpg)


.jpg)

0 comments:
Post a Comment